Add a Plone site#
This section explains how to add a Plone site to an existing Zope instance. It assumes that you have already installed and started Plone.
Some installation methods create a Plone site for you already. Follow these instructions if you used an installation method that did not do this, or if you need a second Plone site in the same instance for some reason.
Added in version Plone: 6.1
The user interface for creating a new Plone site was changed in Plone 6.1. You can access it the same way in Plone 6.0, but the appearance and options are different.
Visit the Plone backend in a web browser. Usually it is running at http://localhost:8080/.
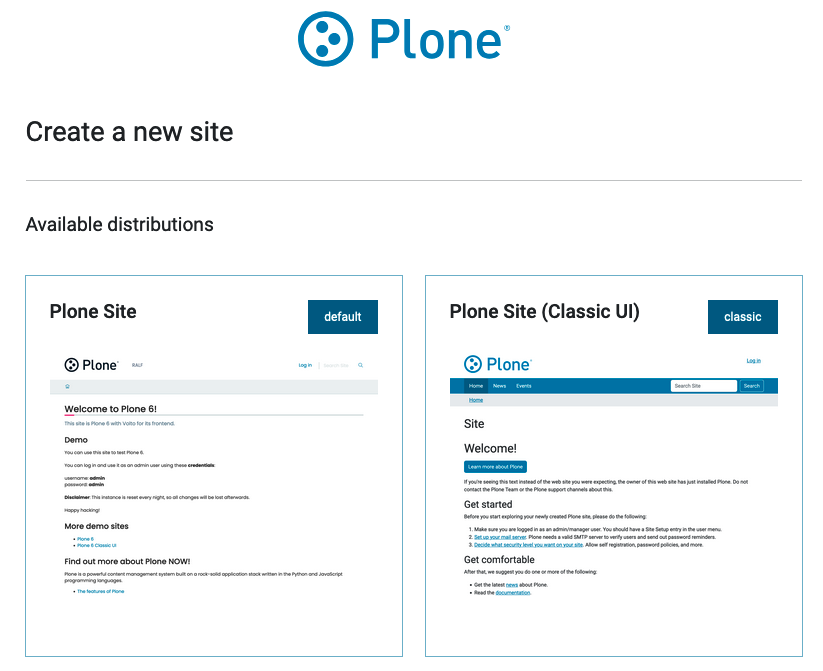
The launch screen prompts you to choose one of the available distributions to create a new site. You can read Choose a user interface to help inform your choice between Volto and Classic UI.
Hover over your choice and click the Create button.
Now complete the form with initial configuration for your site. You can configure the following settings.
- Path Identifier
The ID of the site. This ends up as part of the URL unless hidden by an upstream web server.
- Title
The name of the site in the HTML
titleelement. This will be shown as part of the title of the browser tab on each page.- Site Description
A brief description that will be served in an HTML
metatag.- Site Logo
Upload an image as the main site logo.
- Language
The main language of the site.
- Timezone
The default timezone setting of the portal.
Finally, click the Submit button.
Have fun with your new Plone site!
Important
The launch screen for adding a site is hosted by the Plone backend server.
Regardless of the frontend you select, you will be redirected to the backend's user interface after you create the site.
If you select the Volto frontend, you can switch to it by changing the port number in the URL, usually 3000, and visiting it at http://localhost:3000, for example.
