Install Plone with Cookieplone#
This chapter describes how you can create a web application using Cookieplone. Cookieplone is the recommended way to create a Plone project. It also includes tools for development and deployment.
See also
For other installation options, see Install Plone.
Added in version Volto: 18.0.0-alpha.43
Cookieplone was added as the recommended tool to create a Plone project with the Volto frontend starting in Volto 18.0.0-alpha.43 and above. Subsequently, support for the Classic UI frontend was added in plone/cookieplone-templates#240.
Choose a user interface#
With Cookieplone, you can create projects that use either Volto or Classic UI as a frontend. First, choose a Plone frontend, or user interface. You can read Choose a user interface to help inform your choice between Volto and Classic UI.
System requirements#
Plone has both hardware requirements and software prerequisites.
Hardware requirements#
The hardware requirements below give a rough estimate of the minimum hardware setup needed for a Plone server.
A single Plone installation is able to run many Plone sites.
Installation of the Plone backend and Classic UI frontend requires a minimum of 256 MB of RAM and 2GB of disk swap space.
Installation of the Volto frontend requires a minimum of 2GB of RAM.
After installation, running Plone requires a minimum of 256 MB RAM and 512 MB of disk swap space per Plone site. 2 GB or more RAM per Plone site is recommended.
Minimum 512 MB hard disk space is required. 40 GB or more hard disk space is recommended.
Warning
Add-on products and caching solutions may also increase RAM and disk swap space requirements. To avoid RAM and disk swap limitations, we recommend either temporarily resizing your remote machine to accommodate the build, or build your images locally and upload them to an image store, such as Docker Hub or GitHub Actions.
Supported web browsers#
You can view the list of supported browsers for Volto at Browserslist.
These browsers are set according to the browserslist key in Volto's package.json file, whose content is below.
>1%
last 4 versions
Firefox ESR
not dead
You can view the list of supported browsers for Classic UI at Browserslist.
The supported web browsers for Classic UI are set according to Bootstrap. The following code snippet is the browserslist configuration for Bootstrap 5.3.8.
>= 0.5%
last 2 major versions
not dead
Chrome >= 60
Firefox >= 60
Firefox ESR
iOS >= 12
Safari >= 12
not Explorer <= 11
not kaios <= 2.5 # fix floating label issues in Firefox (see https://github.com/postcss/autoprefixer/issues/1533)
Prerequisites for installation#
An operating system that runs all the requirements mentioned. Most UNIX-based operating systems are supported, including many Linux distributions, macOS, or Windows Subsystem for Linux (WSL) on Windows. A UNIX-based operating system is recommended.
Important
Windows alone is not recommended because it does not support GNU make. If you get Plone to run on Windows alone, please feel free to document and share your process.
Warning
In all environments, do not use the
rootuser. Create a specific user, such asplone, and give this user the proper permissions.
uv#
Install uv. Carefully read the console output for further instructions, and follow them, if needed.
curl -LsSf https://astral.sh/uv/install.sh | sh
powershell -ExecutionPolicy ByPass -c "irm https://astral.sh/uv/install.ps1 | iex"
nvm#
nvm is required only for Volto projects and not for Classic UI projects.
The following terminal session commands use bash for the shell.
Adapt them for your flavor of shell.
See also
See the nvm install and update script documentation.
For the fish shell, see nvm.fish.
Create your shell profile, if it does not exist.
touch ~/.bash_profileDownload and run the
nvminstall and update script, and pipe it intobash.curl -o- https://raw.githubusercontent.com/creationix/nvm/v0.39.5/install.sh | bash
Source your profile. Alternatively close the session and open a new one.
source ~/.bash_profile
Verify that the
nvmversion is that which you just installed or updated:nvm --version
Node.js#
Node.js is required only for Volto projects and not for Classic UI projects.
Install or update the supported LTS versions of Node.js, then activate the version supported in Volto.
nvm install --lts
nvm use --lts
Verify that the supported version of Node.js is activated.
node -vEnable corepack so that Node.js will install pnpm as a package manager.
npm i -g corepack@latest && corepack enable
Make#
Make comes installed on most Linux distributions.
On macOS, you must first install Xcode, then install its command line tools.
On Windows, it is strongly recommended to Install Linux on Windows with WSL, which will include make.
Finally, it is a good idea to update your system's version of make, because some distributions, especially macOS, have an outdated version.
Use your favorite search engine or trusted online resource for how to update make.
Git#
Install Git for your operating system.
Create a Volto project#
This section describes how to install Plone by creating a project with Volto as the frontend.
Generate a Volto project#
After satisfying the prerequisites and having activated an LTS version of Node.js, generate a Volto project.
uvx cookieplone project
You will be presented with a series of prompts.
You can accept the default values in square brackets ([default-option]) by hitting the Enter key, or enter your preferred values.
For ease of documentation, we will use the default values.
Tip
See Cookieplone's README for how to Use options to avoid prompts.
Important
For Project Slug, you must not use any of the Plone core package names listed in constraints.txt.
Note that pip normalizes these names, so plone.volto and plone-volto are the same package.
╭──────────────────────────────── cookieplone ────────────────────────────────╮
│                                                                             │
│                              .xxxxxxxxxxxxxx.                               │
│                          ;xxxxxxxxxxxxxxxxxxxxxx;                           │
│                       ;xxxxxxxxxxxxxxxxxxxxxxxxxxxx;                        │
│                     xxxxxxxxxx              xxxxxxxxxx                      │
│                   xxxxxxxx.                    .xxxxxxxx                    │
│                  xxxxxxx      xxxxxxx:            xxxxxxx                   │
│                :xxxxxx       xxxxxxxxxx             xxxxxx:                 │
│               :xxxxx+       xxxxxxxxxxx              +xxxxx:                │
│              .xxxxx.        :xxxxxxxxxx               .xxxxx.               │
│              xxxxx+          ;xxxxxxxx                 +xxxxx               │
│              xxxxx              +xx.                    xxxxx.              │
│             xxxxx:                      .xxxxxxxx       :xxxxx              │
│             xxxxx                      .xxxxxxxxxx       xxxxx              │
│             xxxxx                      xxxxxxxxxxx       xxxxx              │
│             xxxxx                      .xxxxxxxxxx       xxxxx              │
│             xxxxx:                      .xxxxxxxx       :xxxxx              │
│             .xxxxx              ;xx.       ...          xxxxx.              │
│              xxxxx+          :xxxxxxxx                 +xxxxx               │
│              .xxxxx.        :xxxxxxxxxx               .xxxxx.               │
│               :xxxxx+       xxxxxxxxxxx              ;xxxxx:                │
│                :xxxxxx       xxxxxxxxxx             xxxxxx:                 │
│                  xxxxxxx      xxxxxxx;            xxxxxxx                   │
│                   xxxxxxxx.                    .xxxxxxxx                    │
│                     xxxxxxxxxx              xxxxxxxxxx                      │
│                       ;xxxxxxxxxxxxxxxxxxxxxxxxxxxx+                        │
│                          ;xxxxxxxxxxxxxxxxxxxxxx;                           │
│                              .xxxxxxxxxxxxxx.                               │
│                                                                             │
╰─────────────────────────────────────────────────────────────────────────────╯
You've downloaded /Users/username/.cookiecutters/cookieplone-templates before.
Is it okay to delete and re-download it? [y/n] (y):
╭─────────────────────────────── Plone Project ───────────────────────────────╮
│                                                                             │
│ Creating a new Plone Project                                                │
│                                                                             │
│ Sanity check results:                                                       │
│                                                                             │
│   - Cookieplone: ✓                                                          │
│   - uv: ✓                                                                   │
│   - Node: ✓                                                                 │
│   - git: ✓                                                                  │
│   - Docker (optional): ✓                                                    │
│                                                                             │
╰─────────────────────────────────────────────────────────────────────────────╯
  [1/19] Project Title (Project Title):
  [2/19] Project Description (A new project using Plone 6.):
  [3/19] Project Slug (Used for repository id) (project-title):
  [4/19] Project URL (without protocol) (project-title.example.com):
  [5/19] Author (Plone Foundation):
  [6/19] Author E-mail (collective@plone.org):
  [7/19] Should we use prerelease versions? (No):
  [8/19] Plone Version (6.1.1):
  [9/19] Volto Version (18.22.0):
  [10/19] Python Package Name (project.title):
  [11/19] Volto Addon Name (volto-project-title):
  [12/19] Language
    1 - English
    2 - Deutsch
    3 - Español
    4 - Português (Brasil)
    5 - Nederlands
    6 - Suomi
    7 - Italiano
    8 - Svenska
    Choose from [1/2/3/4/5/6/7/8] (1):
  [13/19] GitHub or GitLab username or organization slug from URL (collective):
  [14/19] Container Registry
    1 - GitHub Container Registry
    2 - Docker Hub
    3 - GitLab
    Choose from [1/2/3] (1):
  [15/19] Which persistent storage to use in the deployment stack?
    1 - RelStorage with PostgreSQL (recommended)
    2 - ZEO with FileStorage
    3 - Local FileStorage, implies a single backend
    Choose from [1/2/3] (1):
  [16/19] Should we setup a caching server?
    1 - Yes
    2 - No
    Choose from [1/2] (1):
  [17/19] Add Ansible playbooks?
    1 - Yes
    2 - No
    Choose from [1/2] (1):
  [18/19] Add GitHub Action to Deploy this project?
    1 - Yes
    2 - No
    Choose from [1/2] (1):
  [19/19] Would you like to add a documentation scaffold to your project?
    1 - Yes
    2 - No
    Choose from [1/2] (1):
╭───────────────────────── Project Title generation ──────────────────────────╮
│                                                                             │
│ Summary:                                                                    │
│                                                                             │
│   - Plone version: 6.1.1                                                    │
│   - Volto version: 18.22.0                                                  │
│   - Output folder: <PATH_TO>/project-title                                  │
│                                                                             │
│                                                                             │
╰─────────────────────────────────────────────────────────────────────────────╯
 -> Setup Backend
 -> Setup Frontend
 -> Generate documentation scaffold
 -> Setup Cache
 -> Setup Project Settings
==> Format codebase
Installed 1 package in 1ms
Found 4 errors (4 fixed, 0 remaining).
Installed 1 package in 2ms
2 files reformatted, 17 files left unchanged
Installed 6 packages in 10ms
 -> Organize documentation files
 -> Remove unneeded documentation files
 -> Initialize Git repository
╭───────────────────────── New project was generated ─────────────────────────╮
│                                                                             │
│ Project Title                                                               │
│                                                                             │
│ Now, code it, create a git repository, push to your organization.           │
│                                                                             │
│ Sorry for the convenience,                                                  │
│ The Plone Community.                                                        │
│                                                                             │
│ https://plone.org/                                                          │
╰─────────────────────────────────────────────────────────────────────────────╯
Install the Volto project#
To work on your Volto project, you need to install both the Plone backend and frontend.
Change your current working directory to project-title.
cd project-title
To install both the Plone backend and Volto as frontend, use the following command.
make install
This will take a few minutes. ☕️ First the backend, then Volto as the frontend will be installed.
When the process completes successfully, it will exit with no message.
Note
After generating a project, then running make install, if you see an error message ERROR: Failed building wheel for Pillow or The headers or library files could not be found for jpeg, a required dependency when compiling Pillow from source., then you need to install Pillow's dependencies.
brew install zlib libjpeg
apt install zlib1g-dev libjpeg8-dev
You will then need to run make install again.
See also
See also the Pillow documentation External Libraries for additional libraries that you might need.
Start Plone#
Plone with Volto for its frontend has two servers: one each for the backend and frontend. As such, we need to maintain two active shell sessions, one for each server, to start your Plone site.
Start Plone backend#
In the currently open session, issue the following command.
make backend-start
The Plone backend server starts up and emits messages to the console similar to the following.
🐎 This Python uses horse-with-no-namespace to make pkg_resources namespace packages compatible with PEP 420 namespace packages.
2025-05-30 00:03:13,990 INFO    [chameleon.config:39][MainThread] directory cache: /Users/username/PATH_TO/project-title/backend/instance/var/cache.
2025-05-30 00:03:14,760 WARNING [ZODB.FileStorage:409][MainThread] Ignoring index for /Users/username/PATH_TO/project-title/backend/instance/var/filestorage/Data.fs
2025-05-30 00:03:14,897 INFO    [plone.restapi.patches:16][MainThread] PATCH: Disabled ZPublisher.HTTPRequest.ZopeFieldStorage.VALUE_LIMIT. This enables file uploads larger than 1MB.
2025-05-30 00:03:15,091 INFO    [plone.app.event:18][MainThread] icalendar has been set up to use pytz instead of zoneinfo.
2025-05-30 00:03:15,917 INFO    [plone.volto:22][MainThread] Aliasing collective.folderish classes to plone.volto classes.
2025-05-30 00:03:16,407 INFO    [Zope:42][MainThread] Ready to handle requests
Starting server in PID 31951.
2025-05-30 00:03:16,410 INFO    [waitress:449][MainThread] Serving on http://[::1]:8080
2025-05-30 00:03:16,410 INFO    [waitress:449][MainThread] Serving on http://127.0.0.1:8080
Start Plone frontend#
Create a second shell session in a new window.
Change your current working directory to project-title.
Start the Plone frontend with the following command.
make frontend-start
The Plone frontend server starts up and emits messages to the console, and should end with output similar to the following.
webpack 5.90.1 compiled successfully in 14898 ms
sswp> Handling Hot Module Reloading
✅  Server-side HMR Enabled!
API server (API_PATH) is set to: http://localhost:3000
Proxying API requests from http://localhost:3000/++api++ to http://localhost:8080/Plone
🎭 Volto started at 0.0.0.0:3000 🚀
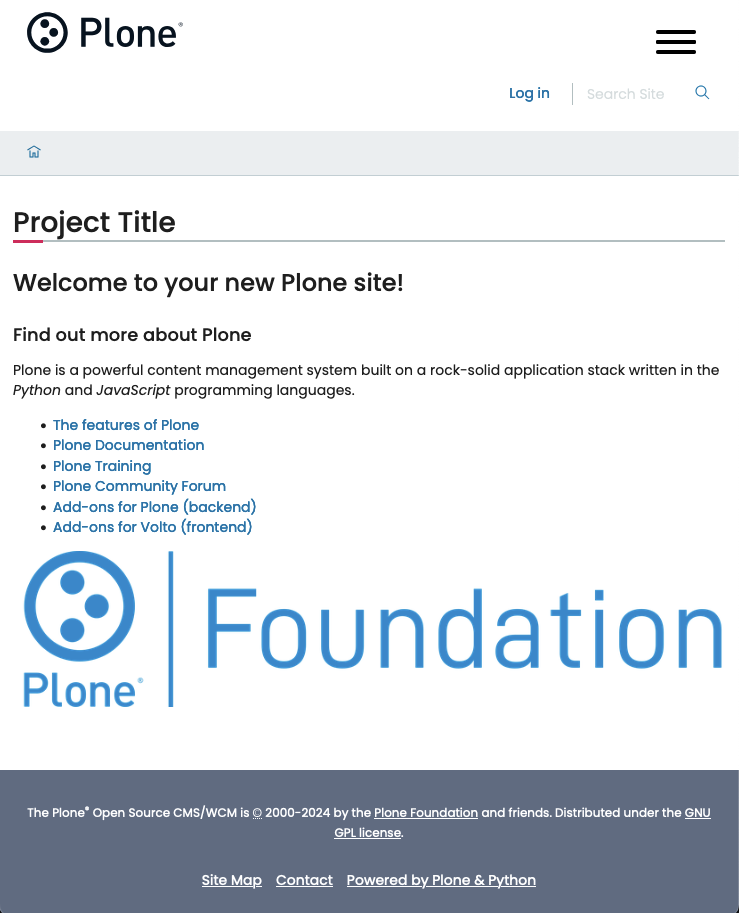
Note that the Plone frontend uses an internal proxy server to connect with the Plone backend. Open a browser at the following URL to visit your Plone site.
You will see a page similar to the following.
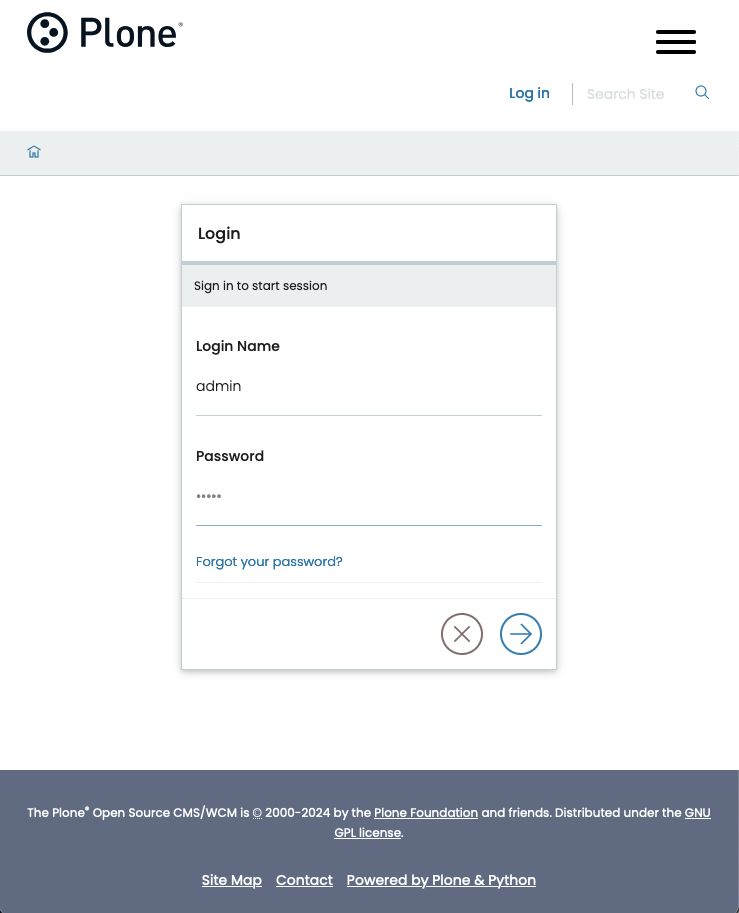
Select the Login link to visit the login form, and enter the following credentials.
Login name:
adminPassword:
admin
Now you can edit content or configure your Plone site.
You can stop the site with ctrl-c.
Create a Classic UI project#
This section describes how to install Plone by creating a project with Classic UI as the frontend.
Generate a Classic UI project#
After satisfying the prerequisites, generate the Classic UI project.
uvx cookieplone classic_project
You will be presented with a series of prompts.
You can accept the default values in square brackets ([default-option]) by hitting the Enter key, or enter your preferred values.
For ease of documentation, we will use the default values.
Tip
See Cookieplone's README for how to Use options to avoid prompts.
Important
For Project Slug, you must not use any of the Plone core package names listed in constraints.txt.
Note that pip normalizes these names, so my.project and my-project are the same package.
╭──────────────────────────────── cookieplone ────────────────────────────────╮
│                                                                             │
│                              .xxxxxxxxxxxxxx.                               │
│                          ;xxxxxxxxxxxxxxxxxxxxxx;                           │
│                       ;xxxxxxxxxxxxxxxxxxxxxxxxxxxx;                        │
│                     xxxxxxxxxx              xxxxxxxxxx                      │
│                   xxxxxxxx.                    .xxxxxxxx                    │
│                  xxxxxxx      xxxxxxx:            xxxxxxx                   │
│                :xxxxxx       xxxxxxxxxx             xxxxxx:                 │
│               :xxxxx+       xxxxxxxxxxx              +xxxxx:                │
│              .xxxxx.        :xxxxxxxxxx               .xxxxx.               │
│              xxxxx+          ;xxxxxxxx                 +xxxxx               │
│              xxxxx              +xx.                    xxxxx.              │
│             xxxxx:                      .xxxxxxxx       :xxxxx              │
│             xxxxx                      .xxxxxxxxxx       xxxxx              │
│             xxxxx                      xxxxxxxxxxx       xxxxx              │
│             xxxxx                      .xxxxxxxxxx       xxxxx              │
│             xxxxx:                      .xxxxxxxx       :xxxxx              │
│             .xxxxx              ;xx.       ...          xxxxx.              │
│              xxxxx+          :xxxxxxxx                 +xxxxx               │
│              .xxxxx.        :xxxxxxxxxx               .xxxxx.               │
│               :xxxxx+       xxxxxxxxxxx              ;xxxxx:                │
│                :xxxxxx       xxxxxxxxxx             xxxxxx:                 │
│                  xxxxxxx      xxxxxxx;            xxxxxxx                   │
│                   xxxxxxxx.                    .xxxxxxxx                    │
│                     xxxxxxxxxx              xxxxxxxxxx                      │
│                       ;xxxxxxxxxxxxxxxxxxxxxxxxxxxx+                        │
│                          ;xxxxxxxxxxxxxxxxxxxxxx;                           │
│                              .xxxxxxxxxxxxxx.                               │
│                                                                             │
╰─────────────────────────────────────────────────────────────────────────────╯
You've downloaded /Users/username/.cookiecutters/cookieplone-templates before.
Is it okay to delete and re-download it? [y/n] (y):
╭─────────────────────────────── Plone Project ───────────────────────────────╮
│                                                                             │
│ Creating a new Plone Project                                                │
│                                                                             │
│ Sanity check results:                                                       │
│                                                                             │
│   - Cookieplone: ✓                                                          │
│   - uv: ✓                                                                   │
│   - git: ✓                                                                  │
│   - Docker (optional): ✓                                                    │
│                                                                             │
╰─────────────────────────────────────────────────────────────────────────────╯
  [1/17] Project Title (Project Title):
  [2/17] Project Description (A new project using Plone 6.):
  [3/17] Project Slug (Used for repository id) (project-title):
  [4/17] Project URL (without protocol) (project-title.example.com):
  [5/17] Author (Plone Foundation):
  [6/17] Author E-mail (collective@plone.org):
  [7/17] Should we use prerelease versions? (No):
  [8/17] Plone Version (6.1.1):
  [9/17] Python Package Name (project.title):
  [10/17] Language
    1 - English
    2 - Deutsch
    3 - Español
    4 - Português (Brasil)
    5 - Nederlands
    6 - Suomi
    7 - Italiano
    8 - Svenska
    Choose from [1/2/3/4/5/6/7/8] (1):
  [11/17] GitHub or GitLab username or organization slug from URL (collective):
  [12/17] Container Registry
    1 - GitHub Container Registry
    2 - Docker Hub
    3 - GitLab
    Choose from [1/2/3] (1):
  [13/17] Which persistent storage to use in the deployment stack?
    1 - RelStorage with PostgreSQL (recommended)
    2 - ZEO with FileStorage
    3 - Local FileStorage, implies a single backend
    Choose from [1/2/3] (1):
  [14/17] Should we setup a caching server?
    1 - Yes
    2 - No
    Choose from [1/2] (1):
  [15/17] Add Ansible playbooks?
    1 - Yes
    2 - No
    Choose from [1/2] (1):
  [16/17] Add GitHub Action to Deploy this project?
    1 - Yes
    2 - No
    Choose from [1/2] (1):
  [17/17] Would you like to add a documentation scaffold to your project?
    1 - Yes
    2 - No
    Choose from [1/2] (1):
╭───────────────────────── Project Title generation ──────────────────────────╮
│                                                                             │
│ Summary:                                                                    │
│                                                                             │
│   - Plone version: 6.1.1                                                    │
│   - Output folder: <PATH_TO>/project-title                                  │
│                                                                             │
│                                                                             │
╰─────────────────────────────────────────────────────────────────────────────╯
 -> Setup Backend
 -> Generate documentation scaffold
 -> Setup Cache
 -> Classic Setup Project Settings
==> Format codebase
Installed 1 package in 3ms
Found 4 errors (4 fixed, 0 remaining).
Installed 1 package in 1ms
17 files left unchanged
Installed 6 packages in 21ms
 -> Organize documentation files
 -> Remove unneeded documentation files
 -> Initialize Git repository
╭───────────────────────── New project was generated ─────────────────────────╮
│                                                                             │
│ Project Title                                                               │
│                                                                             │
│ Now, code it, create a git repository, push to your organization.           │
│                                                                             │
│ Sorry for the convenience,                                                  │
│ The Plone Community.                                                        │
│                                                                             │
│ https://plone.org/                                                          │
╰─────────────────────────────────────────────────────────────────────────────╯
Install the Classic UI project#
To work on your project, you need to install it.
Change your current working directory to project-title.
cd project-title
To install Plone with Classic UI for the frontend, use the following command.
make install
This will take a few minutes. ☕️ When the process completes successfully, it will exit with no message.
Note
After generating a project, then running make install, if you see an error message ERROR: Failed building wheel for Pillow or The headers or library files could not be found for jpeg, a required dependency when compiling Pillow from source., then you need to install Pillow's dependencies.
brew install zlib libjpeg
apt install zlib1g-dev libjpeg8-dev
You will then need to run make install again.
See also
See also the Pillow documentation External Libraries for additional libraries that you might need.
Start Plone#
In the currently open session, issue the following command.
make backend-start
The Plone server starts up and emits messages to the console.
🐎 This Python uses horse-with-no-namespace to make pkg_resources namespace packages compatible with PEP 420 namespace packages.
2025-05-30 00:31:48,278 INFO    [chameleon.config:39][MainThread] directory cache: <PATH_TO>/project-title/backend/instance/var/cache.
2025-05-30 00:31:48,991 WARNING [ZODB.FileStorage:409][MainThread] Ignoring index for <PATH_TO>/project-title/backend/instance/var/filestorage/Data.fs
2025-05-30 00:31:49,106 INFO    [plone.restapi.patches:16][MainThread] PATCH: Disabled ZPublisher.HTTPRequest.ZopeFieldStorage.VALUE_LIMIT. This enables file uploads larger than 1MB.
2025-05-30 00:31:49,443 INFO    [plone.app.event:18][MainThread] icalendar has been set up to use pytz instead of zoneinfo.
2025-05-30 00:31:50,363 INFO    [Zope:42][MainThread] Ready to handle requests
Starting server in PID 35793.
2025-05-30 00:31:50,365 INFO    [waitress:449][MainThread] Serving on http://[::1]:8080
2025-05-30 00:31:50,366 INFO    [waitress:449][MainThread] Serving on http://127.0.0.1:8080
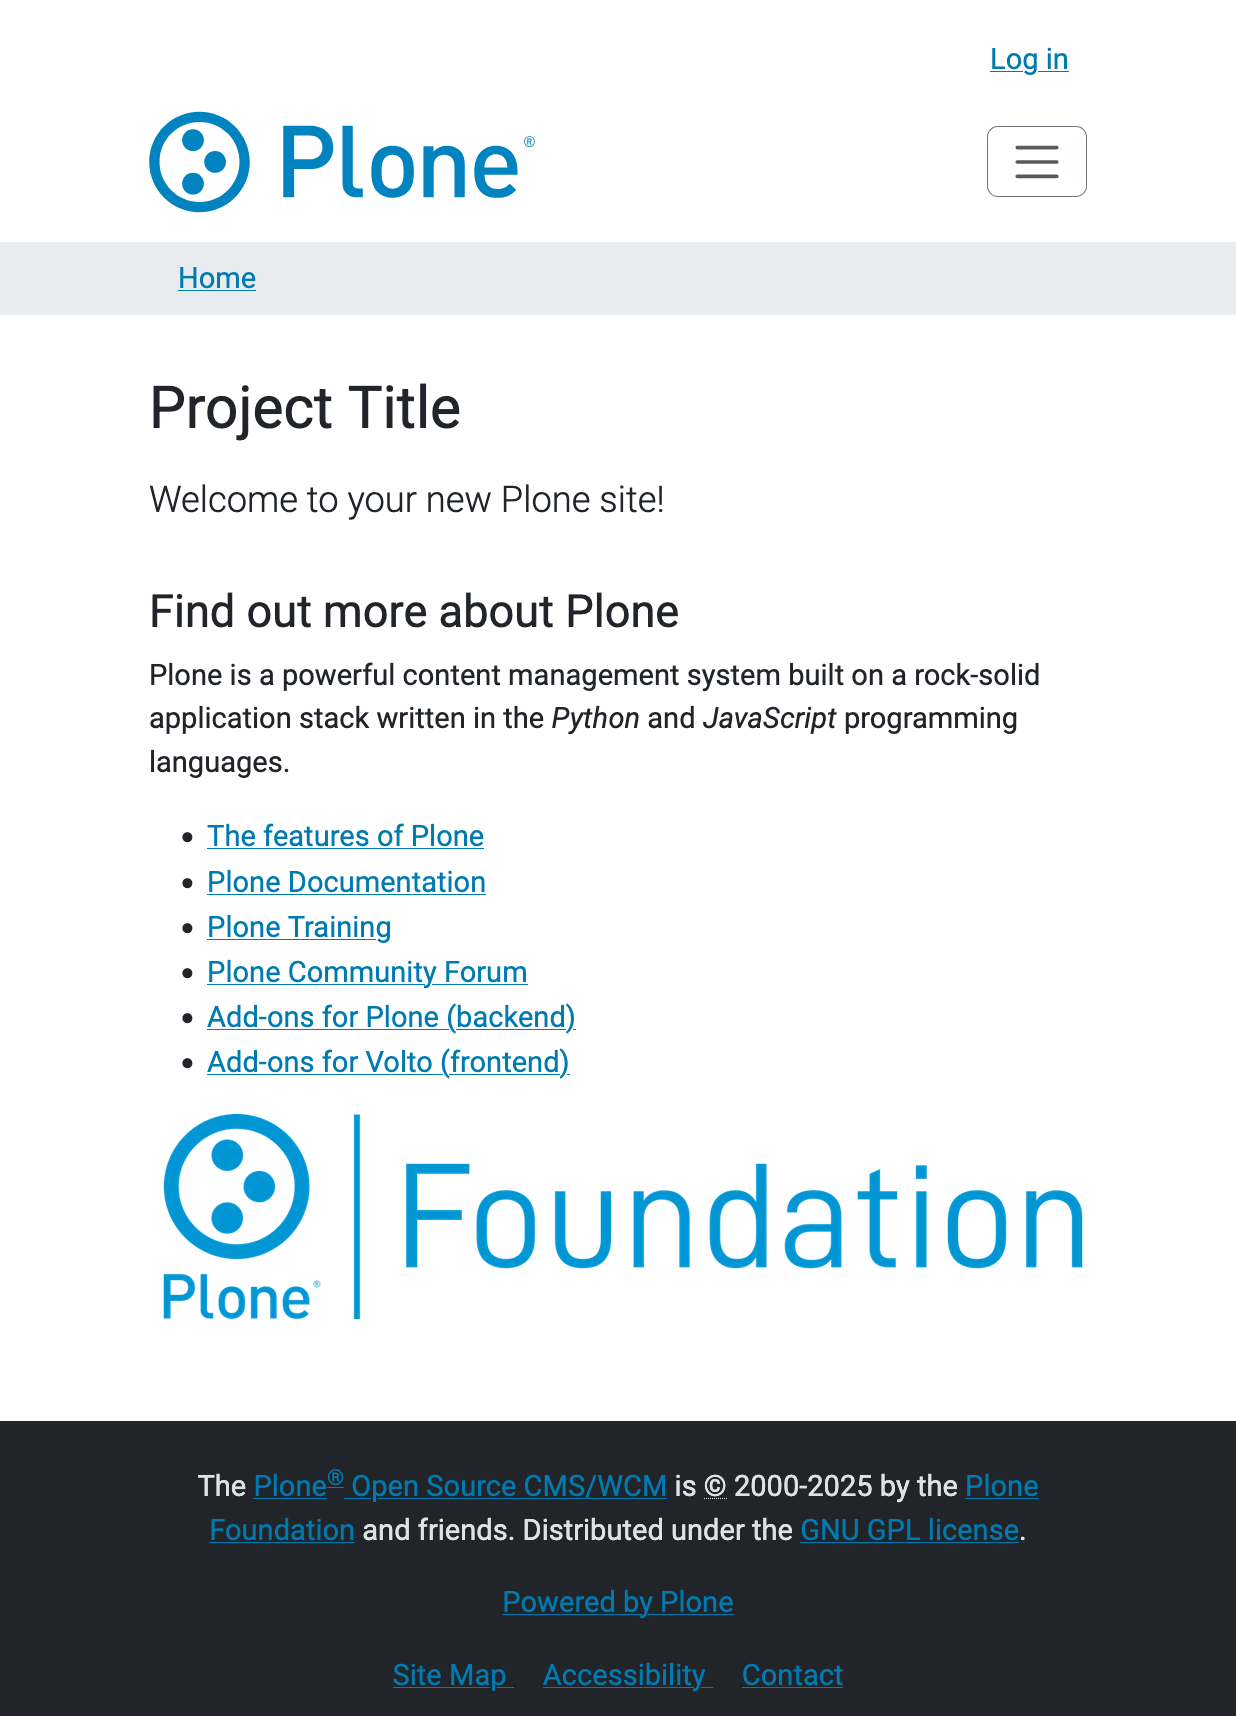
Open a browser at the following URL to visit your Plone site.
You will see a page similar to the following.
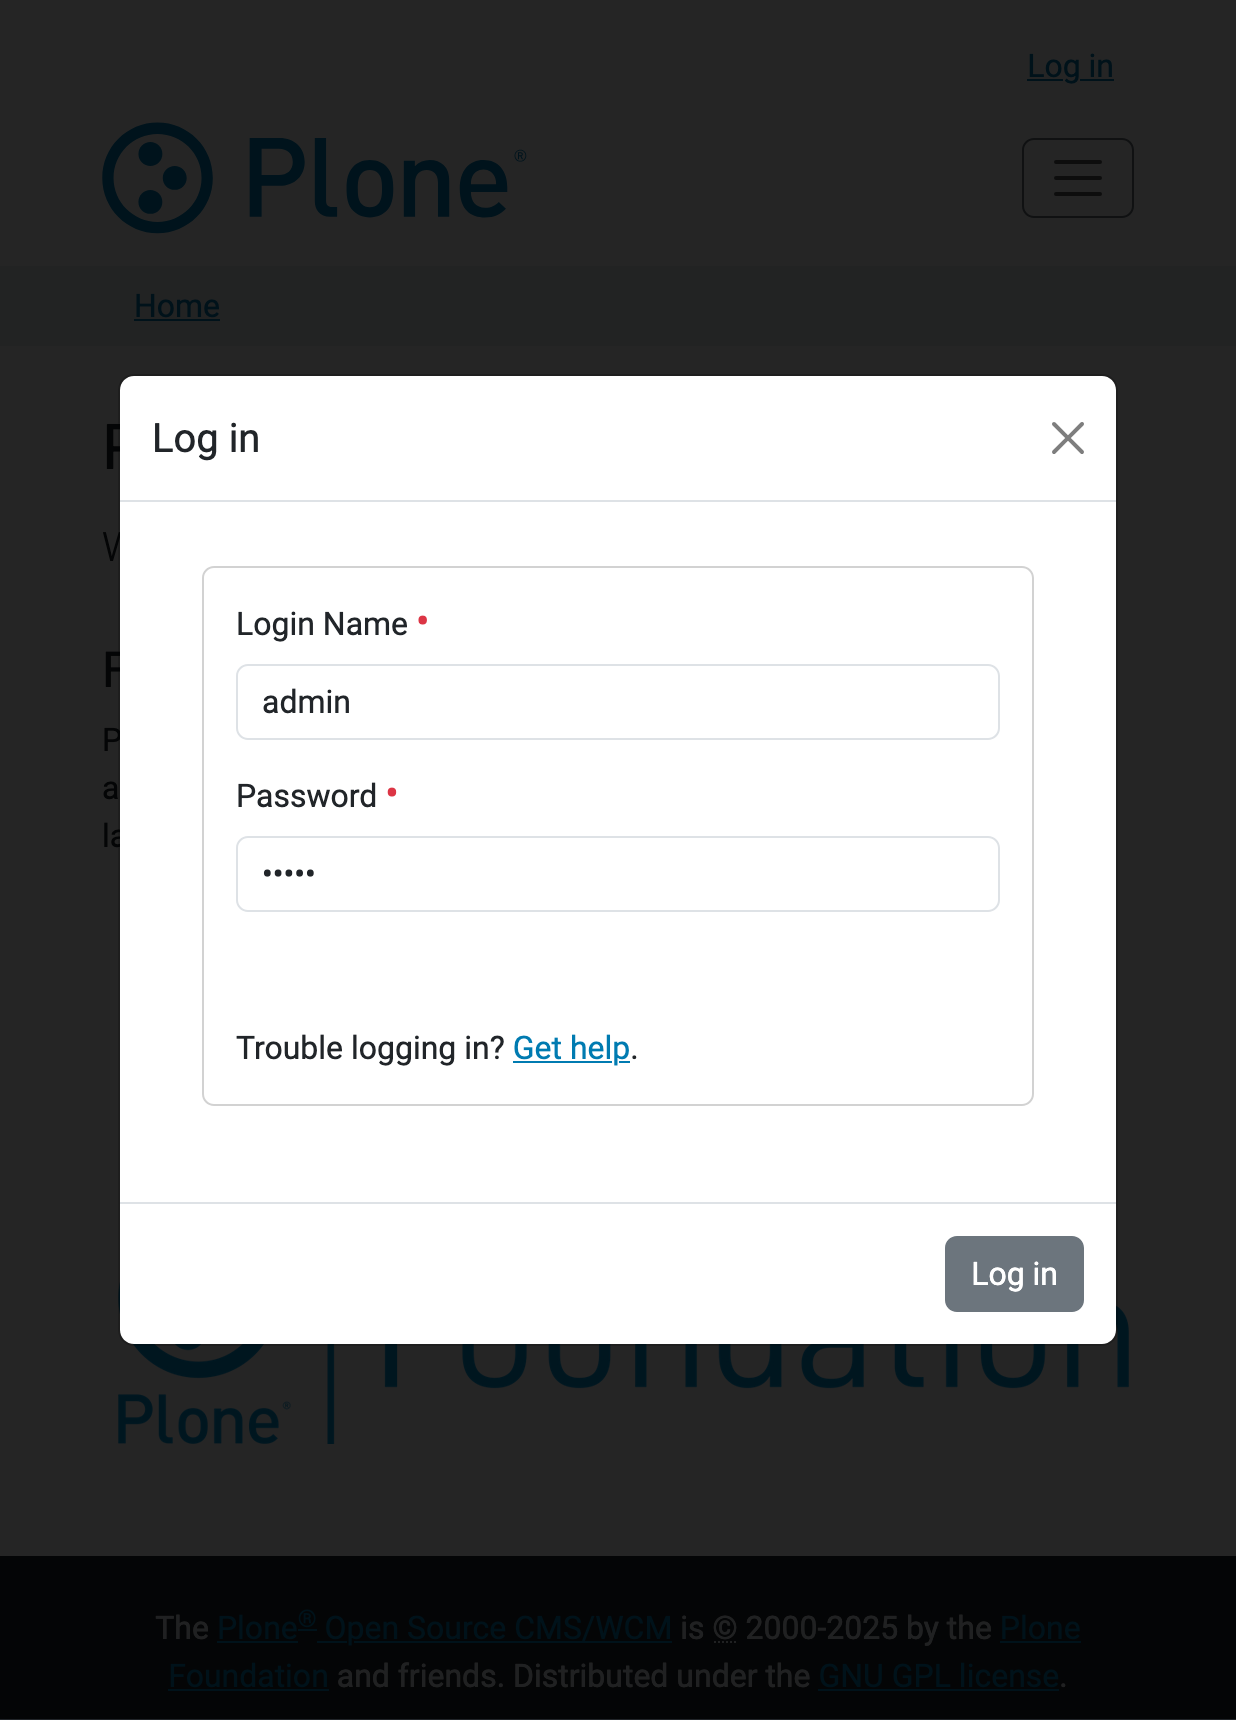
Select the Login link to visit the login form, and enter the following credentials.
Login name:
adminPassword:
admin
Now you can edit content or configure your Plone site.
You can stop the site with ctrl-c.